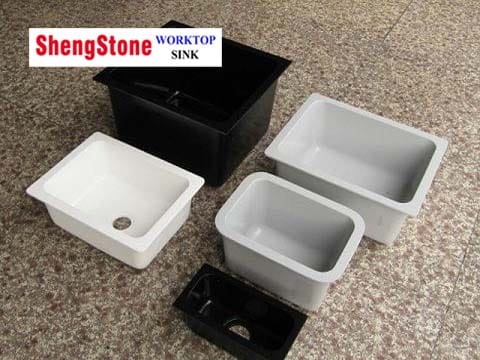
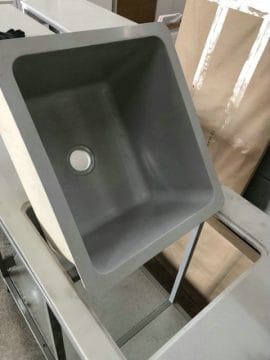
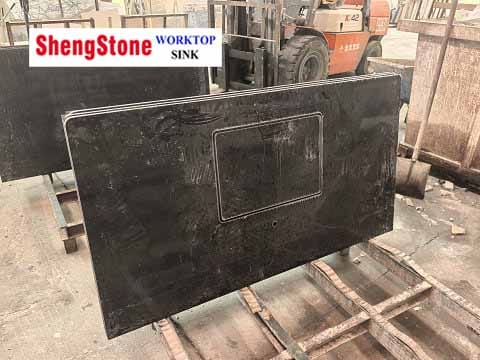
A laboratory sink
Generally, a laboratory sink acts as a core functional unit in all scientific laboratories. Specifically, lab staff use it for daily bench cleaning, experimental tool rinsing and non-toxic waste liquid disposal. Unlike regular household sinks, a laboratory sink requires rigorous installation standards for chemical resistance and leakage prevention.
Therefore, compliant installation effectively protects lab equipment and improves overall operational safety. In general, the entire installation workflow consists of six sequential steps to guarantee standardized and reliable construction results.
Pre-installation Preparation
Site Confirmation
First of all, adequate preparation lays a solid foundation for error-free and efficient construction. To begin with, workers confirm the exact installation position according to official lab layout drawings and avoid areas near ventilation systems to prevent cross-contamination.
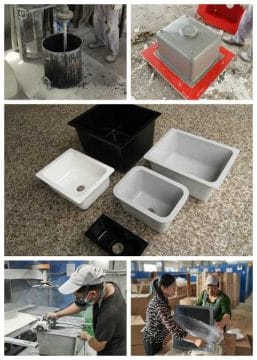
Material Preparation and Site Cleaning
Besides, technicians prepare all required hand tools and anti-corrosion pipe accessories. Meanwhile, they measure the laboratory sink’s overall dimensions to match reserved countertop openings and pipeline positions. Finally, they wipe and clean the construction zone to remove dust and oil stains.
Countertop Opening and Trimming
Position Marking and Sizing
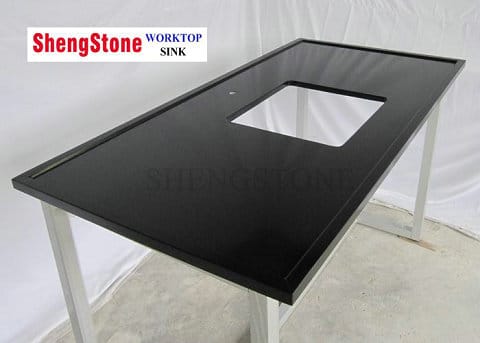
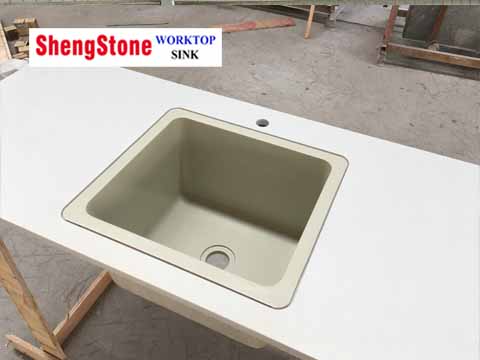
In the second place, countertop processing determines the basic fitting quality of the whole setup. Typically, a laboratory sink adopts a common drop-in mounting style, so workers attach standard templates and draw precise cutting lines with professional level tools.
Cutting, Polishing and Flatness Check
Furthermore, workers reserve a reasonable supporting margin for the opening size to hold the sink steadily. They then cut along marked tracks and polish sharp edges thoroughly. Ultimately, a flatness inspection ensures a seamless and tilt-free fit for the laboratory sink.
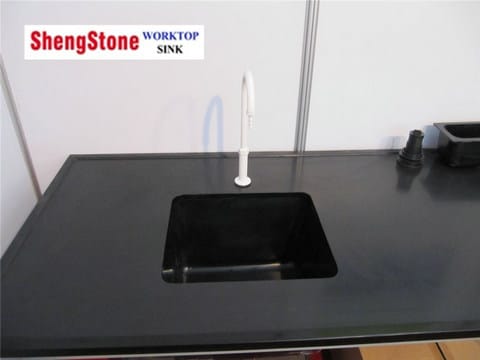
Sink Positioning and Preliminary FixingD
Surface Pre-cleaning
After finishing countertop treatment, workers start the positioning and embedding procedure. To ensure tight sealing, they fully clean the sink rim and countertop contact surfaces to wipe away tiny particles and greasy residues.
Caulk Application and Sink Embedding
Next, workers apply an even layer of anti-corrosion silicone caulk around the sink perimeter. Meanwhile, they embed and adjust the sink to a horizontal level and press it firmly. They also wipe off overflowing caulk instantly to maintain neatness and sealing performance.
Water and Drainage Pipeline Connection
Drainage System Installation
As a key operational procedure, pipeline connection ensures stable water supply and unobstructed drainage. Firstly, workers install internal accessories including drain outlets, filter screens and anti-odor traps to block backflow and sewage leakage.
Water Supply Pipeline Layout
In addition, they layout drainage pipes with a standard gradient to avoid liquid accumulation and blockage. Moreover, they assemble anti-corrosion water pipes and backflow preventers neatly, which greatly simplifies routine inspection and future maintenance work.
Sealing Treatment and Water Pressure Testing
Gap Sealing Reinforcement
Subsequently, workers reinforce sealing structures and conduct professional water pressure tests. Specifically, they fill tiny gaps between the sink and countertop with waterproof caulk to prevent corrosive lab liquid from penetrating into cabinet interiors.
Hydrostatic Leakage Test
Once the caulk reaches initial curing status, technicians carry out a 30-minute static water retention test. If necessary, they re-fasten loose joints and repeat testing until all positions achieve complete leakage-free performance.

Final Finishing and Safety Inspection
Site Cleaning and Arrangement
Last but not least, site finishing and systematic inspection finalize the whole project. On the whole, workers clean residual glue and construction waste, sort out scattered pipelines and fix loose fittings to restore a tidy lab environment.
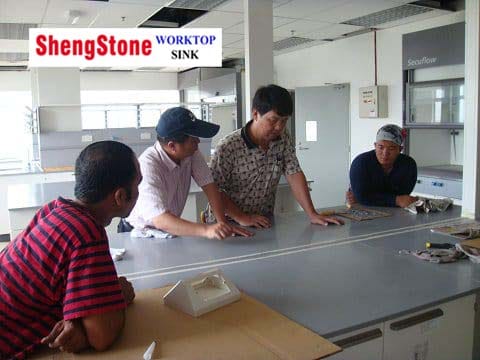
Overall Safety Inspection
In the end, workers check the laboratory sink’s level stability, faucet flexibility and drainage fluency. They eliminate all potential safety risks and archive installation records to support the long-term stable operation of the laboratory sink.
FAQ
Q1: What tools and materials do I need to install a lab epoxy sink?
You need silicone chemical-resistant sealant, adjustable pipe wrench, P-trap drain assembly, plumber’s putty, measuring tape, screwdrivers, rubber gaskets, safety gloves, and lab-grade waste pipe fittings. Extra epoxy backing boards are required for heavy large-size lab sinks to avoid countertop cracking.
Q2: What size cutout should I reserve on the lab countertop for the sink?
Measure the outer rim of your lab sink first. The cutout opening must be 8–10 mm larger all around than the sink’s inner basin frame. Leave a 2–3 mm gap between the sink flange and countertop for sealant filling. Follow the CAD drawing provided by the sink supplier for standard cutout dimensions.
Q3: What is the correct step sequence to mount a laboratory sink?
- Clean and smooth the countertop cutout edge
- Apply uniform chemical silicone along the sink flange
- Lower the sink into the reserved opening and align evenly
- Tighten under-sink mounting clips from below
- Connect drain P-trap, waste pipe and overflow
- Wipe excess sealant and let cure 24 hours before use
Q4: Are there special plumbing requirements for chemical lab sinks?
Yes. Do not use standard PVC pipes for acid/alkali labs; choose PP or HDPE corrosion-resistant drain pipes. Install a separate waste trap to capture chemical residues. Never connect lab sink drainage directly to domestic household sewage without neutralization equipment.
Q5: How to test if the lab sink installation is leak-proof after finishing?
Plug the sink drain completely and fill the basin with water to 70% capacity. Let it sit for at least 2 hours. Check the flange seam, drain joint and under-sink pipe connections for dripping or moisture. If no leaks appear, the installation passes; reapply sealant and retest if any seepage occurs.